Connecting Rod Inspection System FAQs
Your Top Questions Answered for Enhanced Quality Control

What is the Acieta | +Vantage Connecting Rod Inspection System?
The Acieta | +Vantage Connecting Rod Inspection System is a state-of-the-art solution designed for the inspection of twist and bend in connecting rods. It utilizes high precision rotary air bearings for dynamic scanning, offering comprehensive measurements including multi-level full bore scans, roundness, diameter, cylindricity, and more.
What types of manufacturing processes do Acieta | +Vatange inspection systems support?
Acieta’s inspection systems support a wide range of manufacturing processes for connecting rods, including automotive, recreational, diesel, and small engines. Our systems cover offline and high-volume inspections, bend and twist inspections, weight scale systems, thickness gage systems, and bolt hole inspection systems.
How can Acieta | +Vantage's solutions help reduce downtime in my production process?
Our advanced inspection systems are designed to detect and correct deviations quickly and accurately, minimizing the need for rework and reducing downtime. By maintaining high precision and reliability, our solutions help streamline your production process and keep your operations running smoothly.
How does the Acieta | +Vantage system compare to traditional inspection methods?
Unlike traditional methods that might use static probes or air jets, the Acieta | +Vantage system performs dynamic scans, analyzing 3600 points per scan at each level of diameter. This provides a more accurate analysis of bore quality compared to the typical 4 points at each level used by many other systems.
What are the main benefits of using Acieta | +Vantage tailored solutions?
The main benefits include high-speed CMM grade dynamic scans, true analysis of bore quality without making assumptions, and highly accurate results that correlate well with CMM audit systems. This system provides more value for money by offering detailed insights into the connecting rod’s condition.
Can the system handle different types of connecting rods?
Yes, the system features quick changeover capabilities, allowing it to run multiple part types varying in center distance bore size and cast geometry. This flexibility makes it suitable for both automotive and diesel engine connecting rods.
What type of measurements can the Acieta | +Vantage system perform?
Measurements include but are not limited to roundness, diameter, cylindricity, straightness, bore position to datum structure, bore taper/profile, center distance, and bore perpendicularity (bend & twist).
How does the system ensure high accuracy in its measurements?
The system is equipped with high precision rotary air bearing servo-controlled spindles and digital transducers that measure radial displacement accurately. The use of ruby contacts avoids marking the part, ensuring long-term operation and accuracy.
Are Acieta | +Vantage's inspection solutions compatible with existing production lines?
Yes, they are designed to seamlessly integrate with your existing production lines. Our solutions can be customized to fit your specific needs, ensuring minimal disruption during implementation and maximizing efficiency.
Is there a video demonstration of the Acieta | +Vantage system in operation?
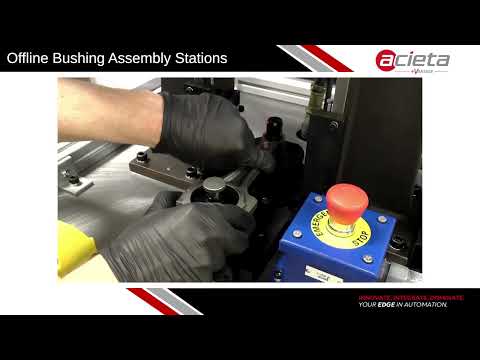
In today’s competitive automotive and diesel engine manufacturing industry, precision and efficiency are paramount. This video showcases cutting-edge advancements in connecting rod inspection, poised to transform your production process. Discover how our state-of-the-art inspection systems can help you achieve unparalleled precision, reduce downtime, and increase throughput. See how integrating these solutions can secure your place as a leader in the engine manufacturing industry.
What makes the Acieta | +Vantage system more cost-effective than other options on the market?
What kind of support does Acieta provide during and after the installation of inspection systems?
Acieta offers comprehensive support during and after the installation of our inspection systems. Our team of experts will assist with system setup, training, and ongoing maintenance to ensure optimal performance and address any issues that may arise.
Ready to transform your manufacturing process with unparalleled precision and efficiency?
Discover the power of the Acieta | +Vantage system today! Contact us for a personalized consultation and see how our advanced scanning technology can elevate your operations. Don’t wait – take the first step towards a smarter, more cost-effective future!
